Sour Seed Dough 40/100 and 60/100
You’re thinking, “Sour Seed Dough?” what is she up to now? Debra Wink gave me the idea of playing with the Boudin original recipe, which she sent me. We have been experimenting back and forth with it to obtain a “sour” bread. It is obviously not the way they(Boudin) bake their sourdough now. Home baked sourdough’s are still the best.
However, there is that elusive, consistent “sour” that is so hard to capture in a white sourdough. By white, I don’t mean only white, but mostly white. Adding a small amount of whole wheat to increase the ash content and thereby the ability of the dough to sour, isn’t cheating, it is just managing your flour, right?
It is easy to get a sour bread adding a significant portion of whole wheat and/or rye flour to your dough, anyone can do that. I have done that, you have done that. No brainer. When I mean a small amount I mean something like a few ounces, something less than 5% of the total flour weight. Or like 2 ounces/56g in approximately 2 pounds 10 ounces of dough (the formula I will be working with here).
Having a proofer cabinet is helpful to obtaining a good sour, you need the warmth for the dough during either fermentation or proofing or both.
Sour Seeds:
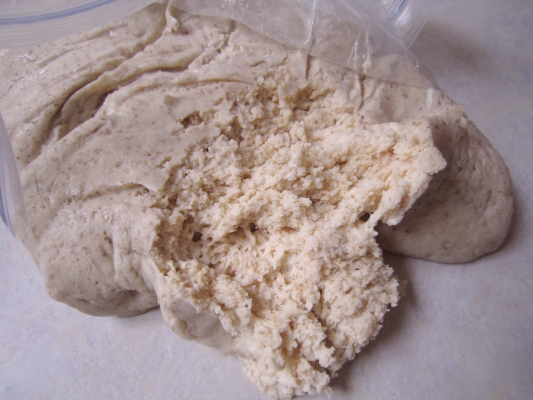
40% Sour Seed Dough: This dough was made up and left to ferment at around 50 degrees F (it did vary because it was in the trunk of my car)(no one has sent me a retarder cabinet to try out yet). I left this dough for two weeks in my car trunk then I brought it in and instead of throwing it away, I put it in the fridge where it slept another week before I tried it out. So, no this experiment is not technical, but it is fun. You can try it out by making up the sour seed and leaving in your fridge for three weeks (yes, sour seeds take patience, so make it up and forget about it for a while). This dough is very low in hydration and it is challenging to incorporate the flour and water. If you do it by hand, you won’t have the mass of dried flour at the bottom like you can have with a mixer.
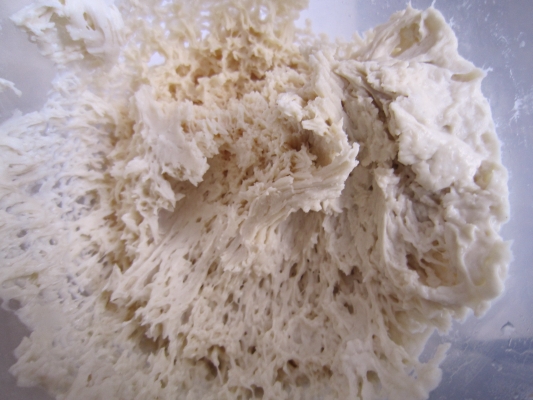
60% Sour Seed Dough: This sour seed was made up and kept in the fridge for two weeks. It looked like this when I finally decided to use it:
These seed doughs were made up and neglected due to life. It was a great fun to experiment with them once I finally had some time. The first dough was made using the 40% seed dough. The second bread was made using the 60% seed dough. The 40% seed dough had some added whole wheat the 60% seed dough was just white bread dough.
When you use a seed dough, you will need a good strong bread flour. The seed doughs have their gluten broken down and if you add too much to your final dough, the dough will be slack in a not nice way, especially if you are using a weaker all purpose flour or low quality bread flour. You need the stronger flour to carry the weaker dough to make it happen.
For both doughs, I also used some freshly fed (within 8 hours) 100% starter to boost yeast activity.
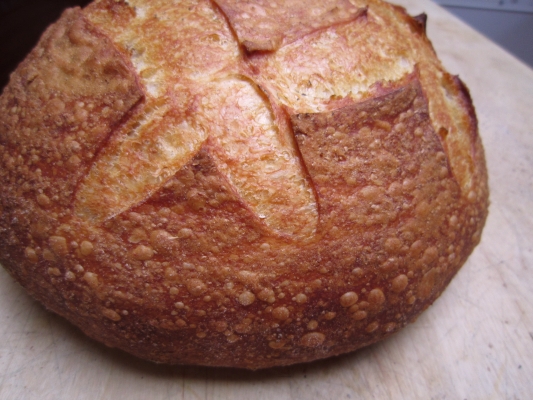
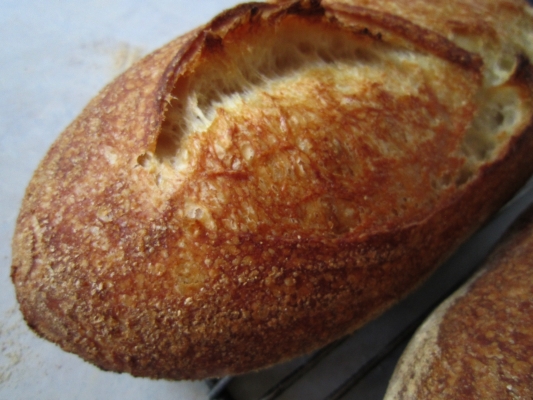
The 40/100 dough produced :
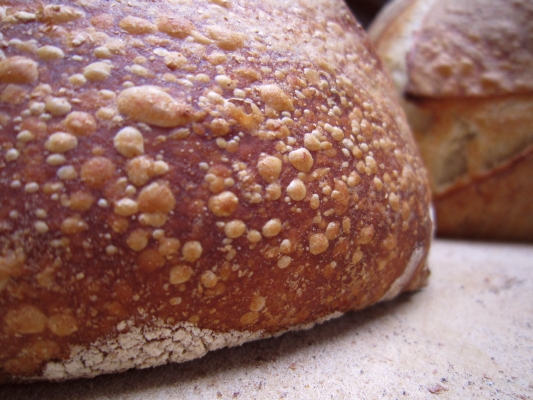
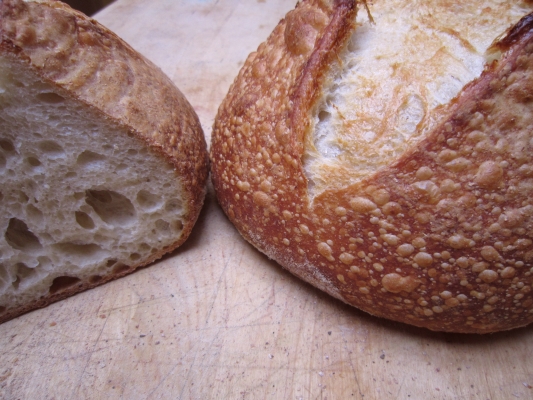
I thought you might want to see what an underproofed crust vs a properly proofed crust can look like:
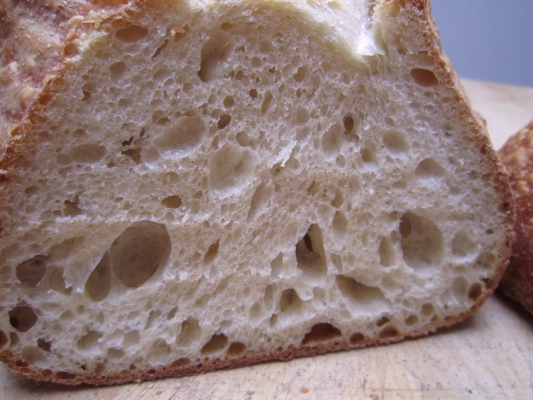
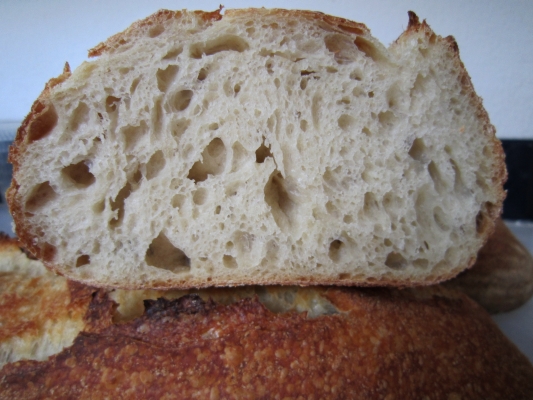
Notice the dull overall appearance of the loaf on the left, it also blew out the crust a little and produced the above crumb (with it’s dome shape) which you can see isn’t as open as it should have been.
This bread had a nice medium sour flavor.
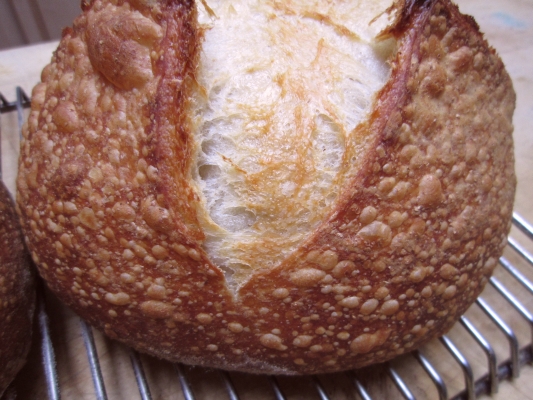
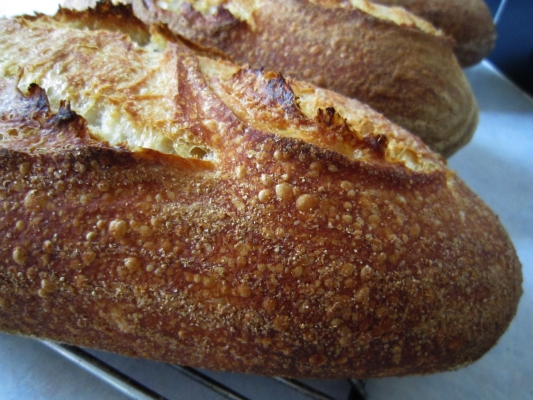
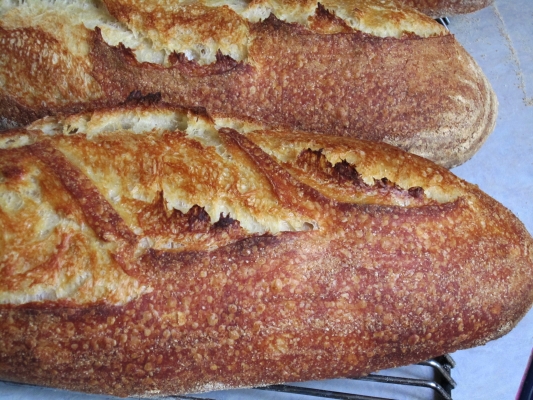
The 60/100 loaves:
These loaves had a mildly tangy flavor and were incredible in flavor:
The flavor was excellent, the crumb moist and custardy, the crust was crusty crunchy, these loaves were a great success.
The dough held up well for both, so next bake I will add more seed sour and see how far I can push it. Stay tuned for each dough to be posted separately with formula.

